As you, probably, know, a smart filter can only be applied to a smart object. To smart-filter an ordinary layer, you have to convert it to smart filter (more about).
Now you are ready to add a smart filter:
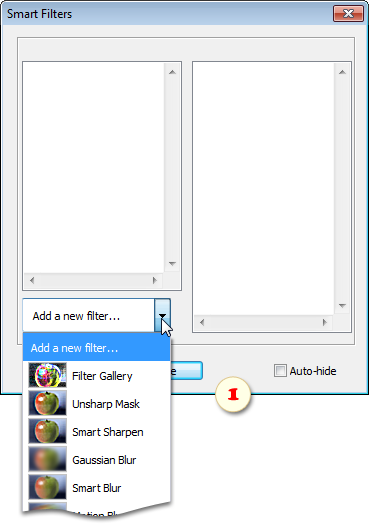
- Open the "Smart Filters" dialog.
- Choose a filter in the drop menu (fig. 1).
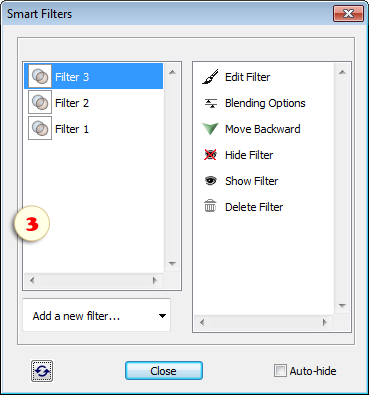
- In the dialog box that opens, adjust settings of the selected filter and click "OK" button (fig. 2).
In the left panel of the "Smart Filters" dialog, there appears the first item. In the Layers palette, you can notice the "smart-filter"
 icon on the smart object's line.
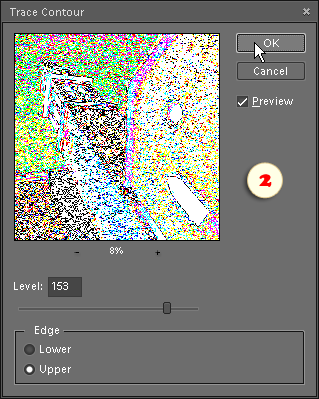
 - To add to smart object yet another filter, just use the drop menu once again. Since the script can't read names of the applied filters, they appear in the Filters list under serial numbers (fig. 3).
If you don't remember what's hidden, for example, under "Filter 2" title, just double-click this line to re-open the filter settings dialog.
Attention! Once a filter is selected in the drop menu, you can't cancel the filter adding. Even if you click "Cancel" in the filter's dialog, or press [Esc] key, the filter will be applied but won't appear in the list. To remove a mistakenly added filter, close the "Smart Filters" dialog, then reopen it once again, select the added filter in the list and apply the "Delete Filter"
 command.