Color Balance
 "Color Balance" is one of the most helpful color adjustment tools.
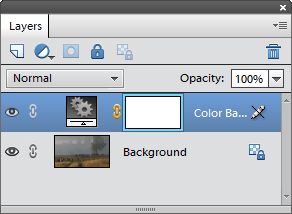
- If the edited document is layered select the uppermost layer in the Layers panel.
- Open the "Color and Tone" dialog and double-click the "Color Balance" command. In the "New Layer" dialog, click "OK".
- For example, to remove yellow color cast, you move the lowest slider "blue'ward"; to decrease cyan, you move the uppermost slider "red'ward".
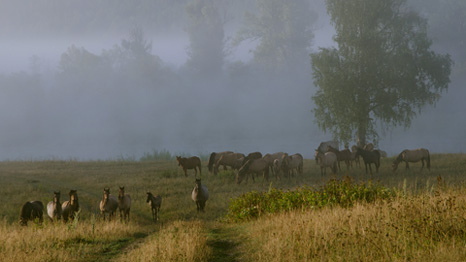
- The "Tone Balance" area of the dialog box lets you restrict edited tonal range. For instance, you can try to add some yellow in the image shadows and decrease this color in the highlights (screenshot).
- Click "OK" to apply your adjustment.
There appears dialog box allowing you to redistribute image color. The logic of this tool is based on RGB color model. That is, by adding a primary - red, green, or blue - color, you reduce amount of its complementary - cyan, magenta, or yellow - color. And vice versa.
Although the correction appears in the Layers panel as a separate layer, once the "Color Balance" dialog is closed, you can't edit its settings on the Adjustments panel as we do it with the regular adjustment layers.