This action defines image transparency for printing or exporting into an other program.
- Create a new path or select an existing one.
- In case the path has been created from a selection or from text, save it under some name. (Paths created from vector shapes are saved automatically.)
- In the Effects palette, double-click the "Clipping Path" action.
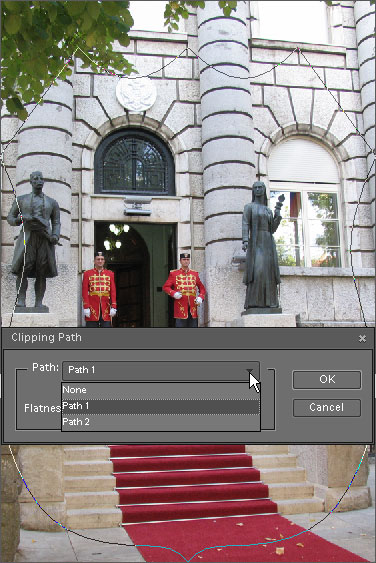
- In the "Clipping Path" dialog, click "OK" to use the current path and default "Flatness" options. Optionally, you may select another saved path (screenshot) or specify "Flatness" value (more about).
- Now you are ready to print the image (see example).
- For using a clipping path in other application (such as InDesign, Illustrator, etc.) save the document to PSD or TIFF format.
- To disable a clipping path, double-click the "Clipping Path" pictogram and, in the "Clipping Path" dialog, select "Path: None".